Compnerd7
Member
- Messages
- 190
Well, I have spent the last 6+ months building this cage for my Argentine Red Tegu Ryion, and the cage itself is finally finished. I have yet to add cypress bedding, furniture, hides, and other decor. That will all be finished in 2 days. I am also adding a warm air humidifier ( vaporizer ) but I have not found the right one that I can pipe in. Besides those things, my cage is complete!
The cage is 6'X4'X30' . It has two front acrylic doors 30"X30" that open inward. There is an acrylic viewing window in the front as well that is about 8"X25". I have another viewing window at the top that is inset in wood flooring and measures in at 9"X30". Also on the top are two rear vents with screen that are 11"X11". The right side of the cage has a doggy door that is 18"X2'X2'. The back and left side I left bare because they are going against walls. I can always add wood in the future if I was so inclined, but for now, i'm leaving it just plywood.
The wood used to decorate the exterior is as follows:
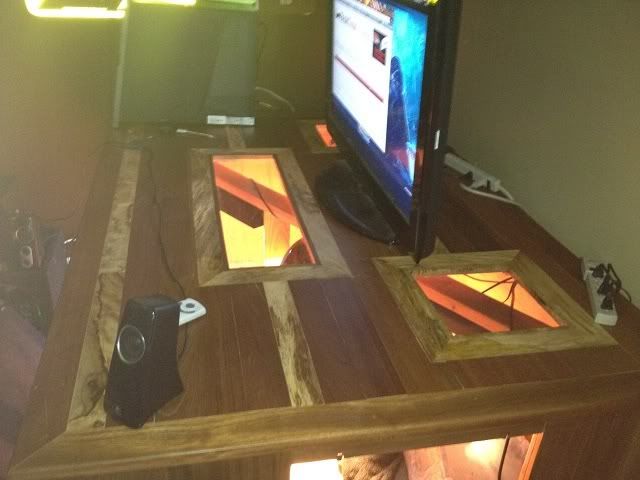
Brazilian Cherry for the top and bull nose.
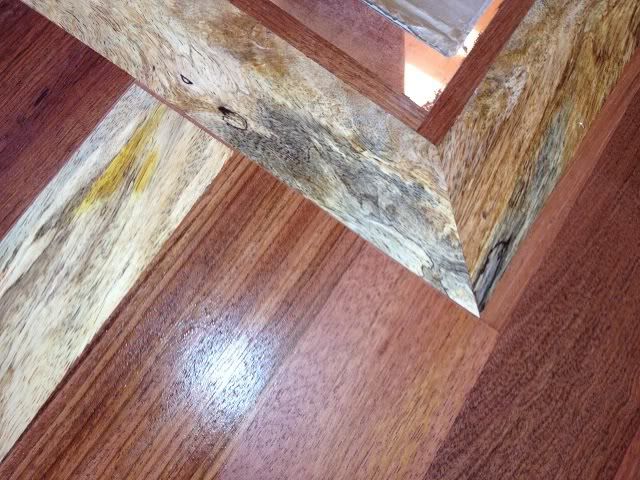
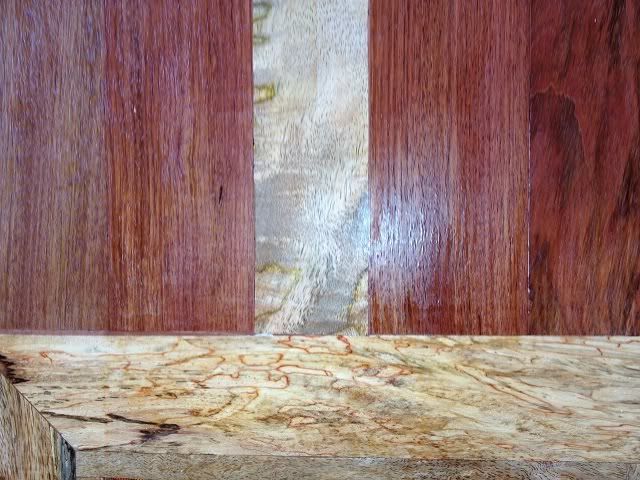
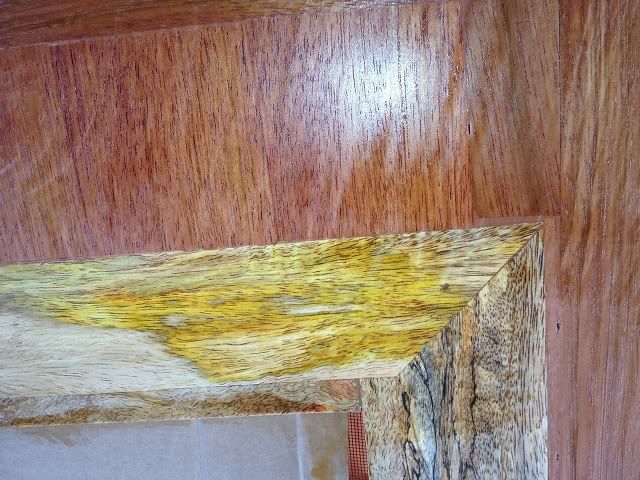
Mango Wood for the front, top stripes, and boarder of the top window / vents.
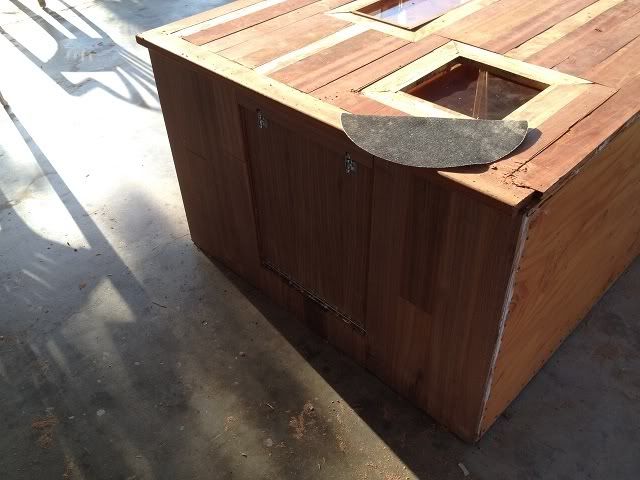
Quartersawn Walnut for the right side / doggy door.
The front pillars of roses are made of Maple, Mahogany, Teak, and Brazilian Cherry.
The Mango Wood is especially precious to me because it is vurtuly impossible to get a hold of. I just happen to do a flooring job a few years ago for a man who had a son who owned a Mango grove in Hawaii, and he had to cut down a grove of his. He then had it milled into planks and flooring and sent to the mainland of the U.S. That's how I was able to get a hold of such a beautiful rare wood.
Now, here are the pics and lay out of the entire operation, enjoy!
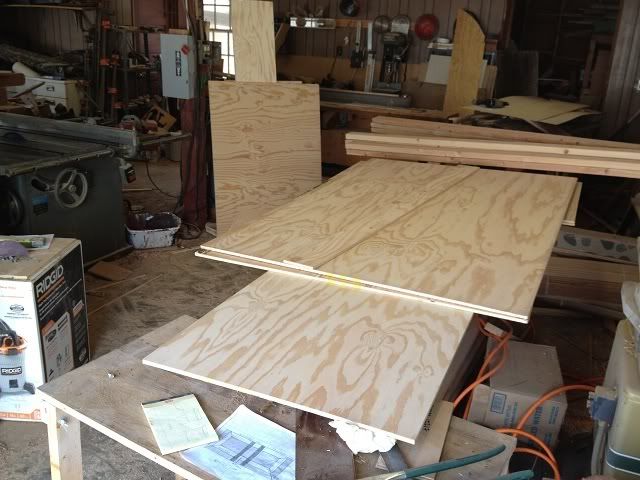
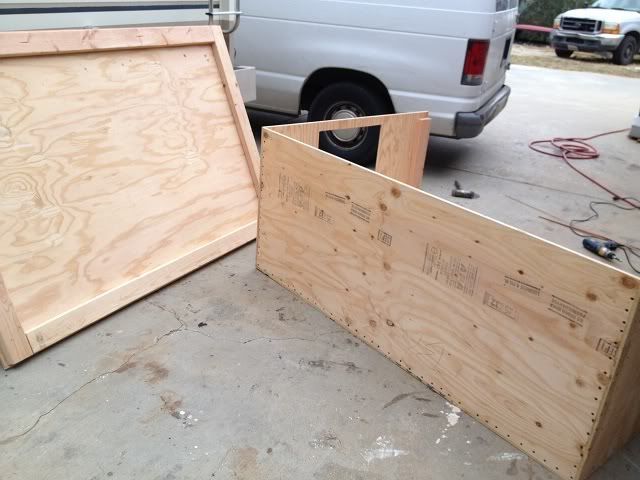
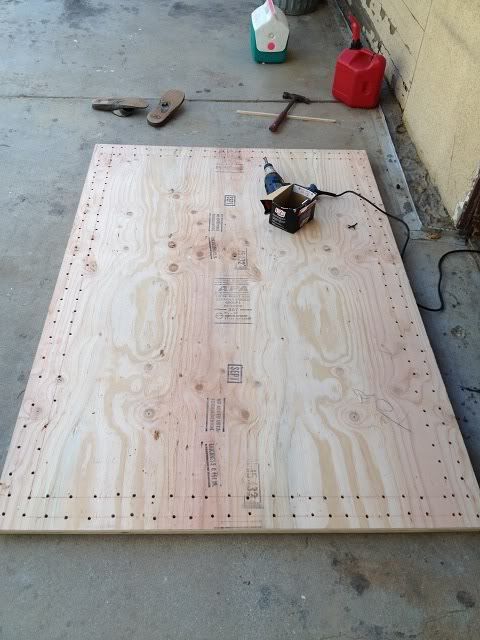
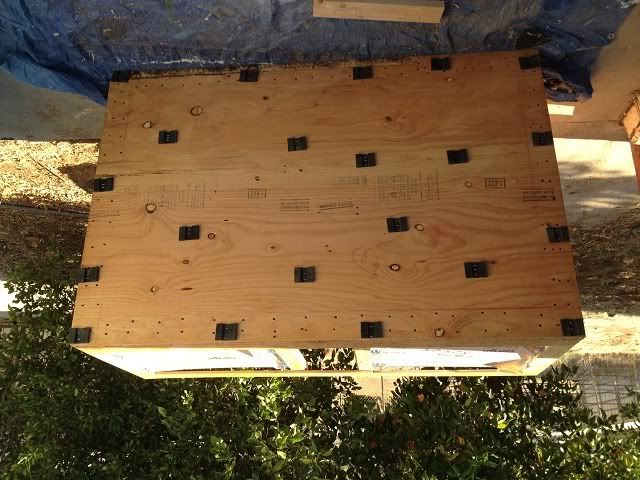
3/4 ply wood pre-sanded on one side. Cut the sides and top to shape.

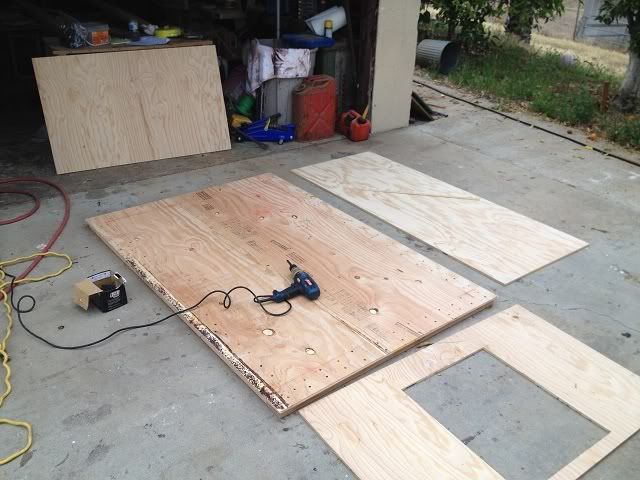
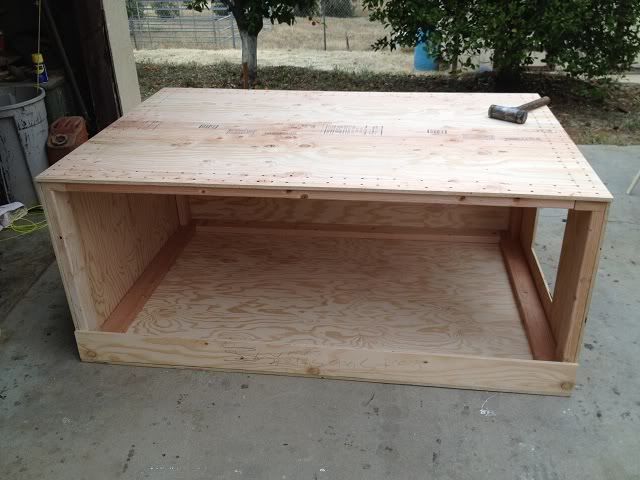
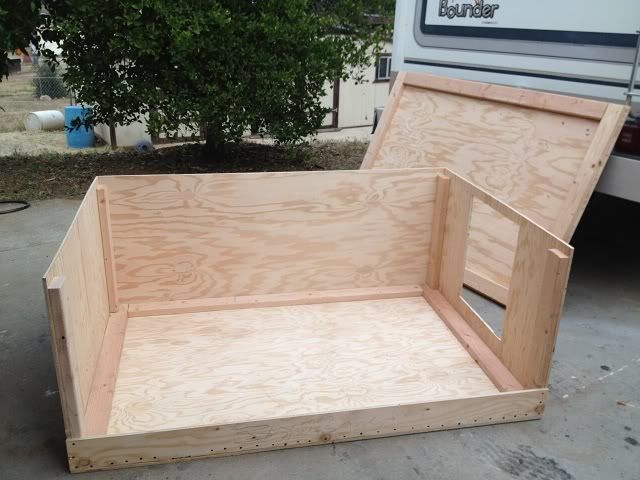
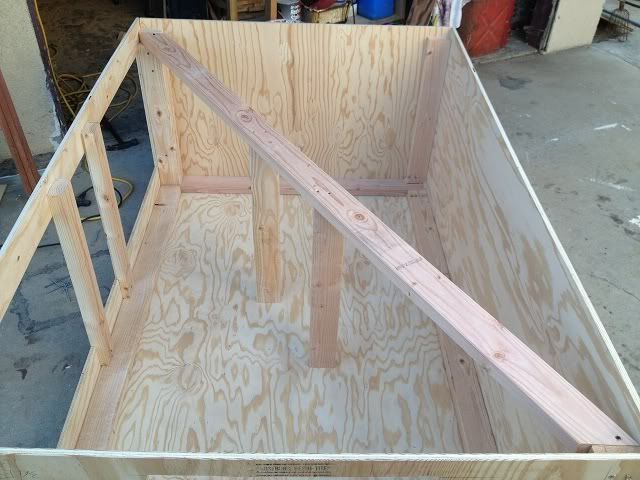
Dry fit.
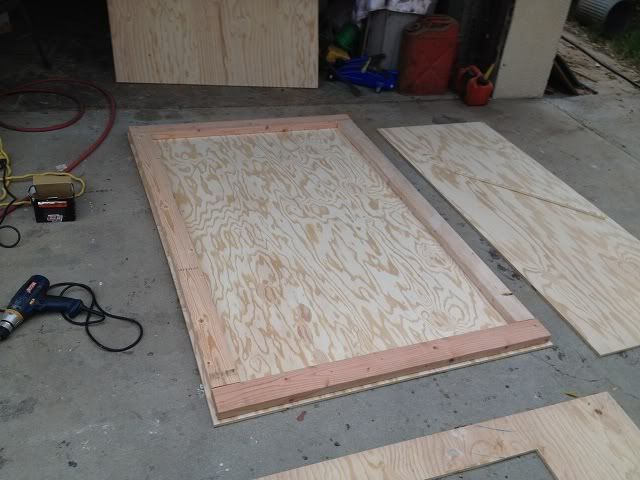
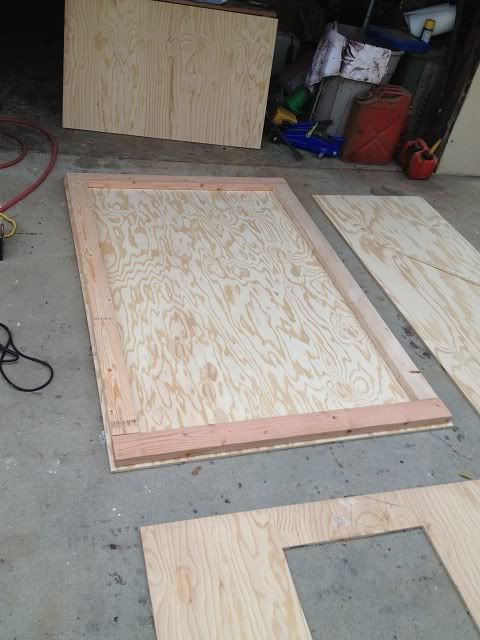
Cross support for strength and lights.
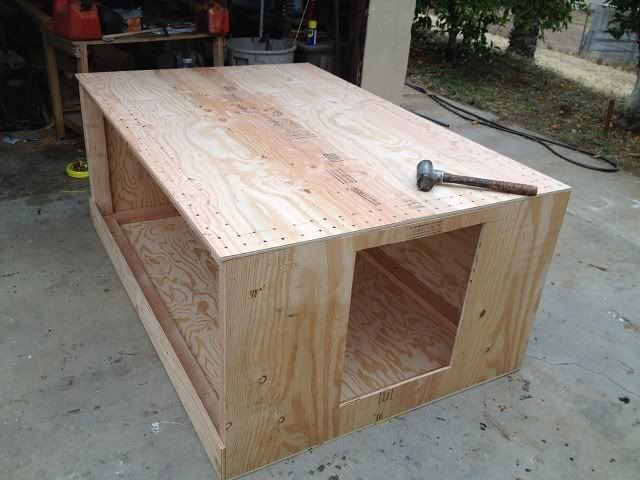
Interior routing to house the front window.
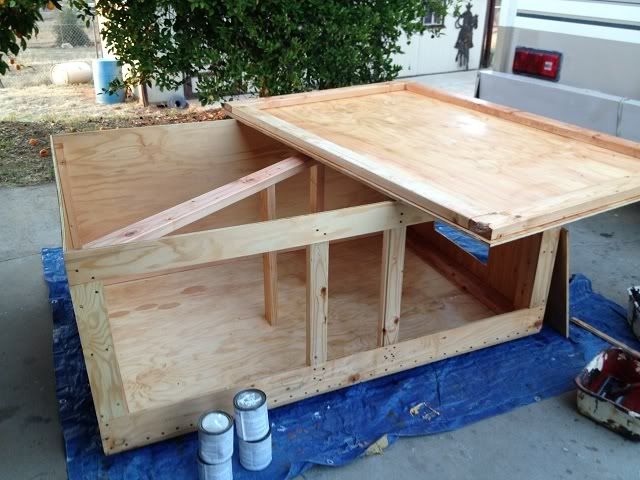
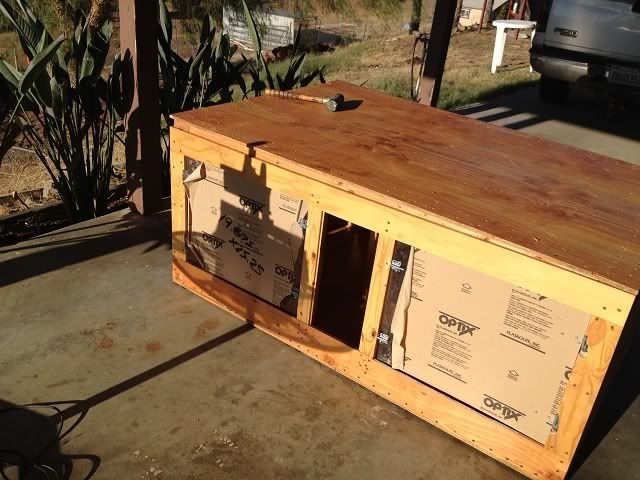
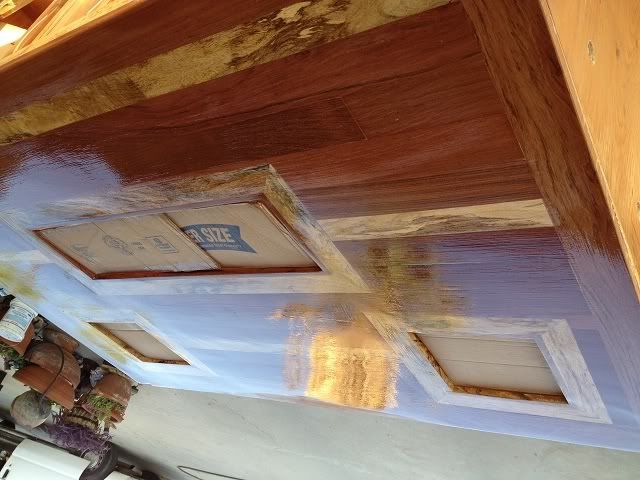
I put 3+ coats of deck sealer, this picture shows it after one.
These are rubber cleats that are usually used on basketball floors to make them portable and give them some flex. I used them to protect the wood floors in my house.
Installing the windows.

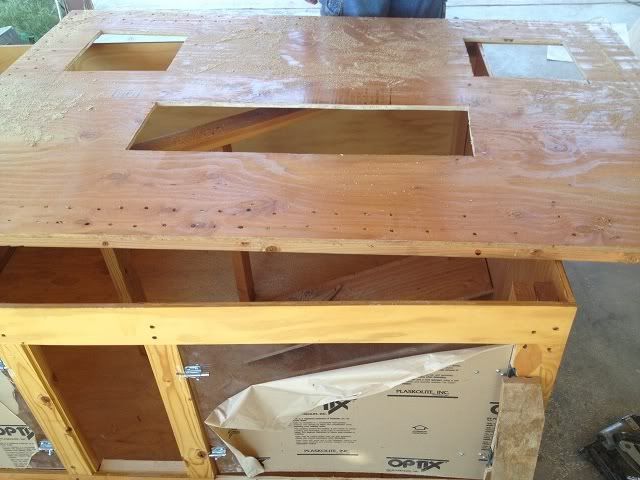
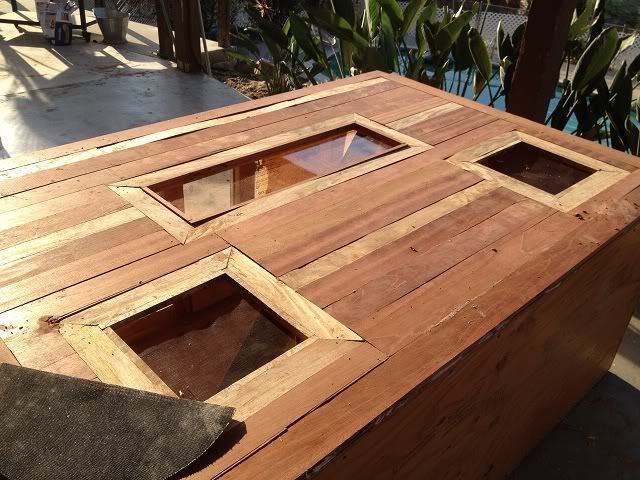
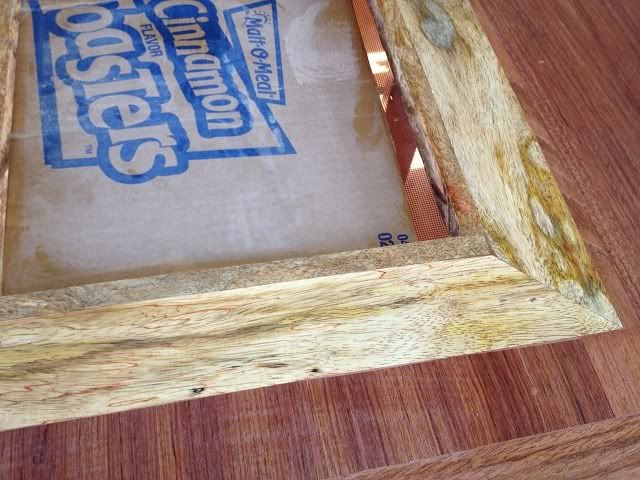
Cut-outs for the vents and windows.
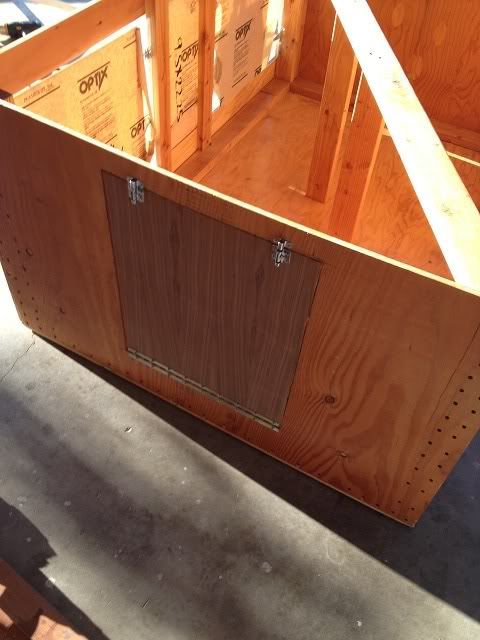
Covered the doggy door in a piece of thin Walnut to avoid issues with the door opening / closing.
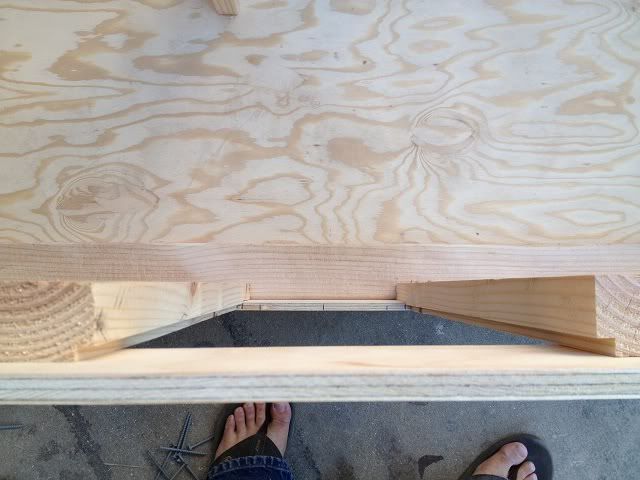
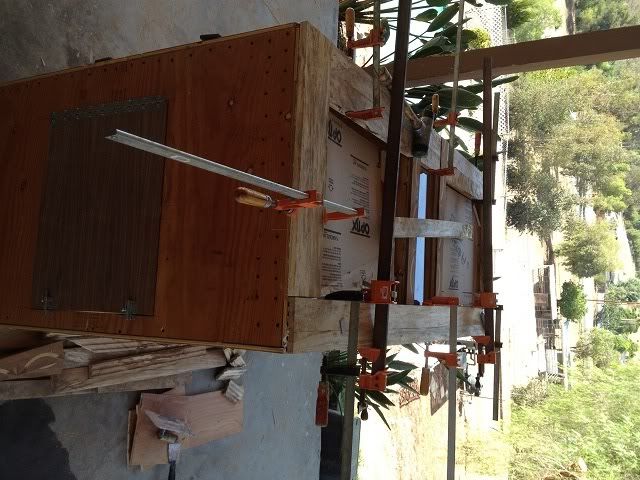
Had to clamp on the front pieces to make them tight.
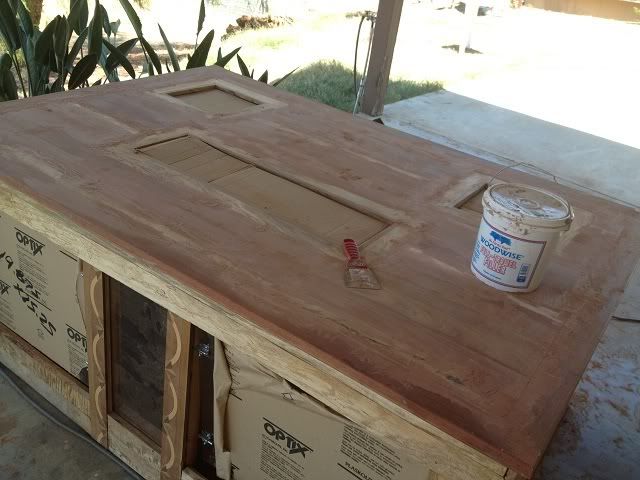
Installed flooring on top.
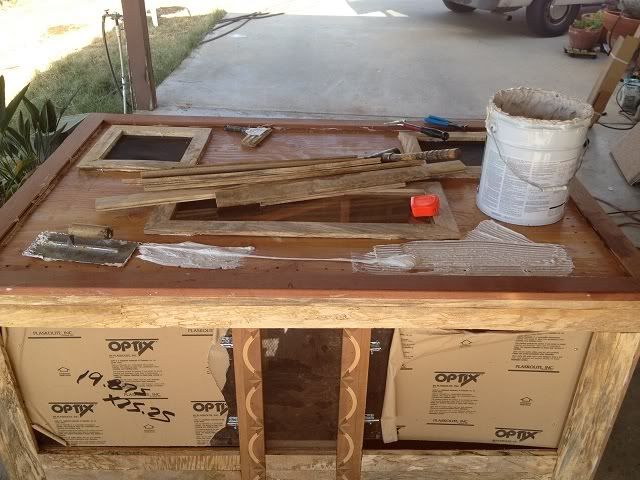
Puttied the cracks in the flooring.
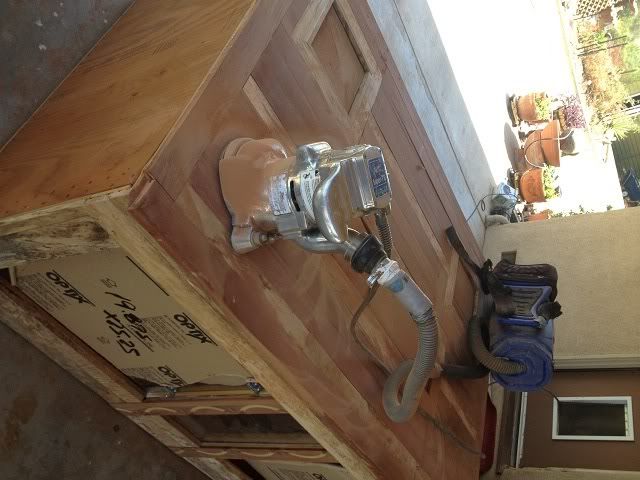
Pre-sanded.

I had to sand each side 4 times. Once with 60 grit then 80 grit sand paper on a flooring edger. Then I used 80 and 120 grit sand paper on a RO ( Random Orbital Sander ).
Flooring Sealer.
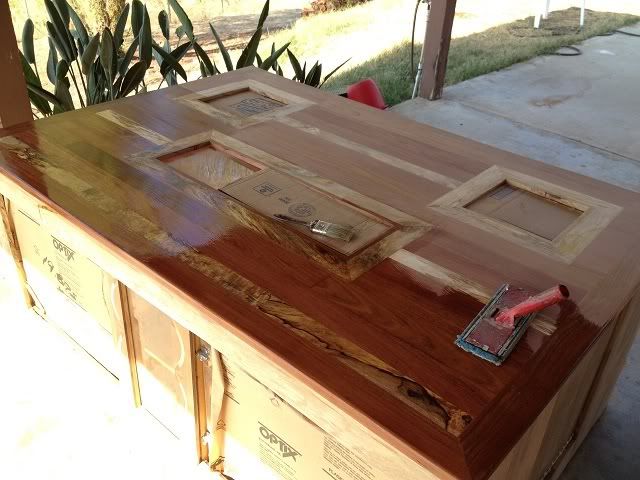
After one coat of flooring finish.
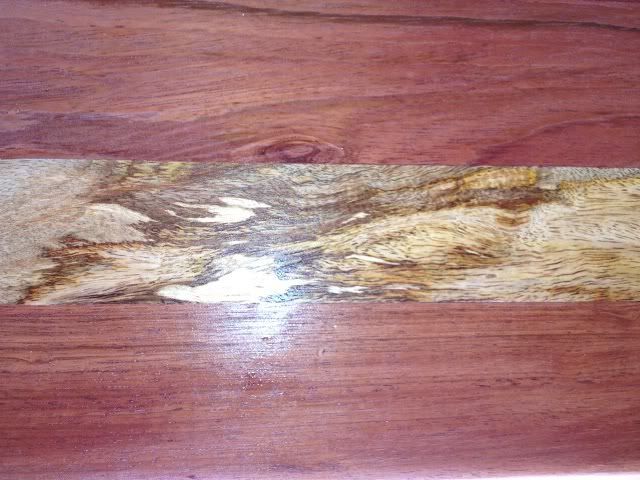
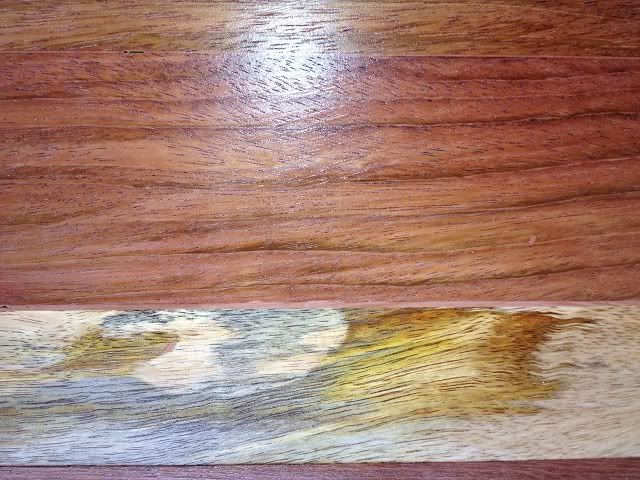
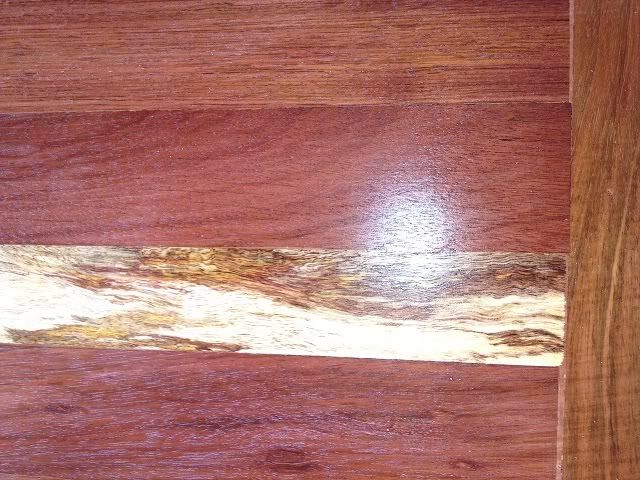
Here are some characteristics of the Mango wood up close that make it so unique.
Installed some plumbing so I never have to take his huge water dish out. A large pump pumps out all of the water / refuse.

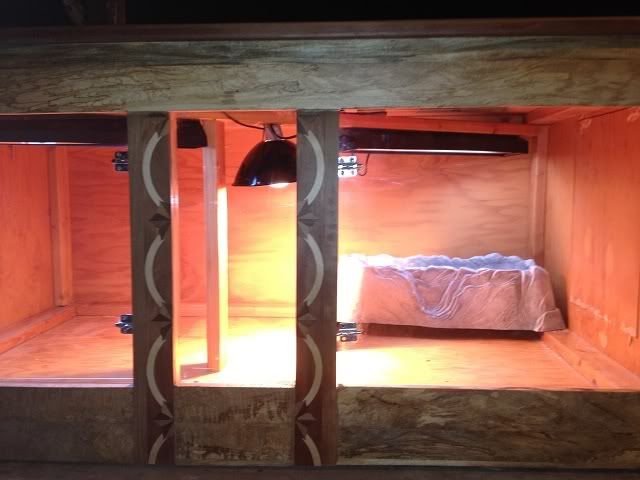
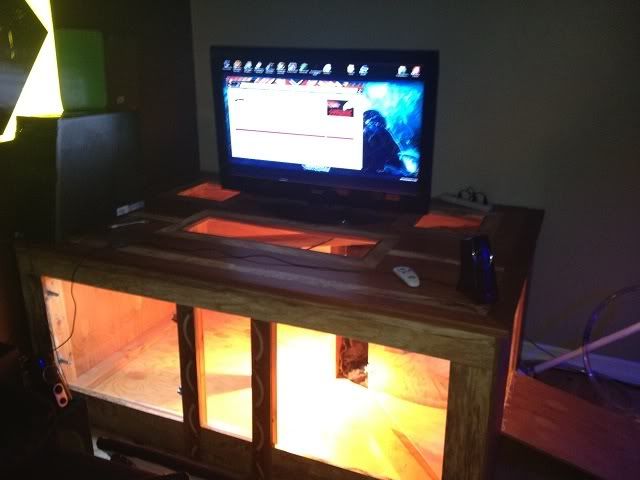
Installed the lights. Two 24" Repti-Glo 10.0 strips and one 150W basking bulb.
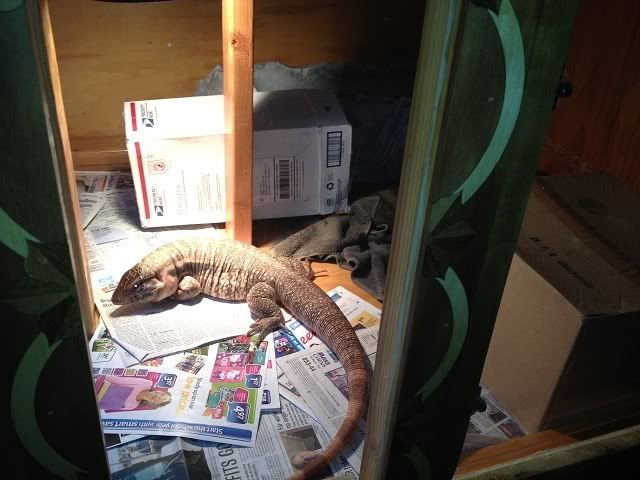
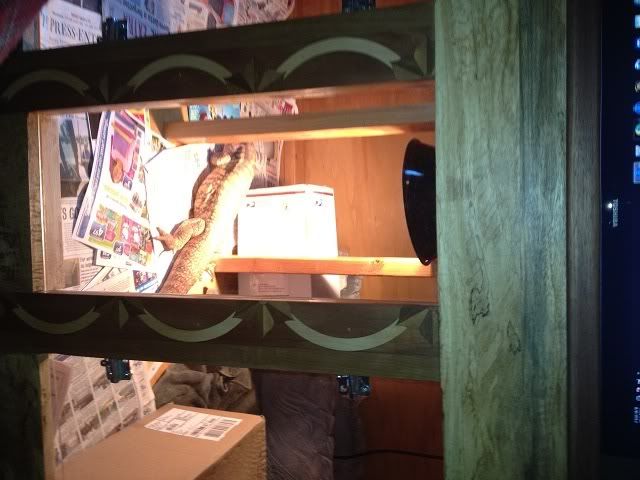
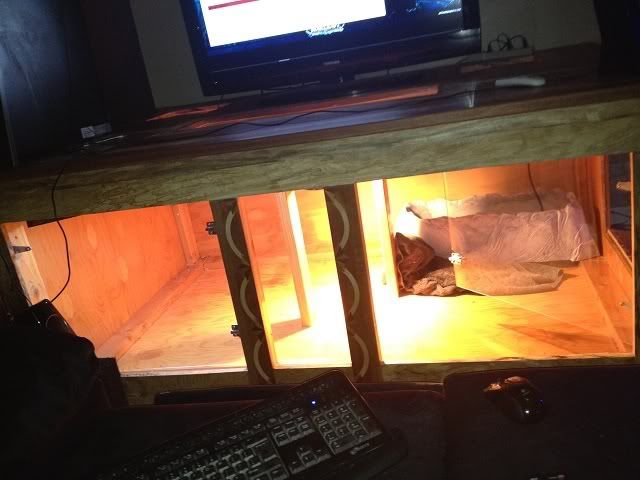
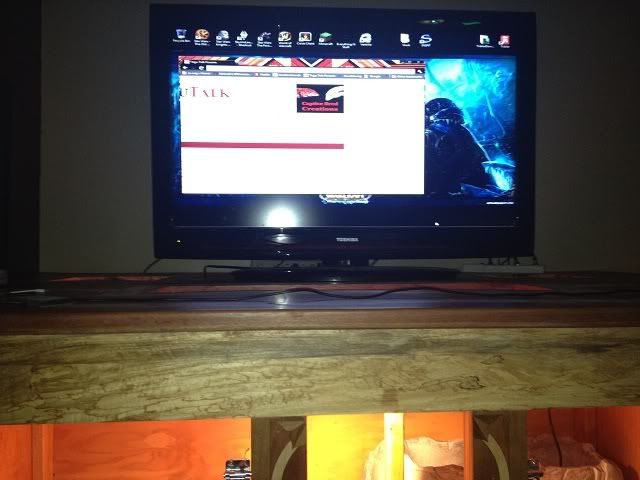
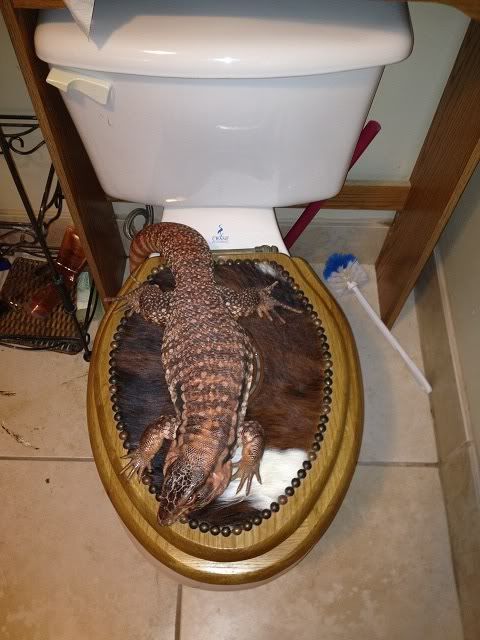
Shots of it finally inside!
Thanks for looking, I hope you enjoyed it! I will post pictures when the inside is complete, this weekend.
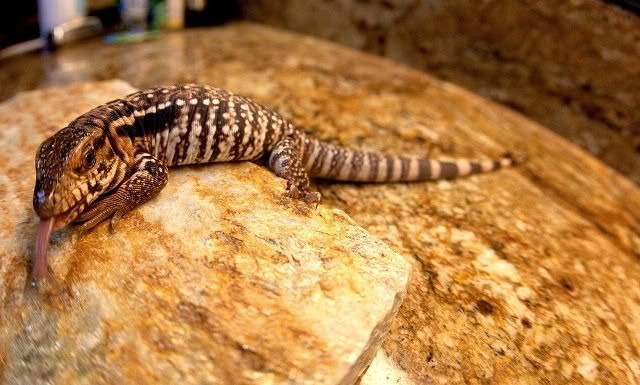
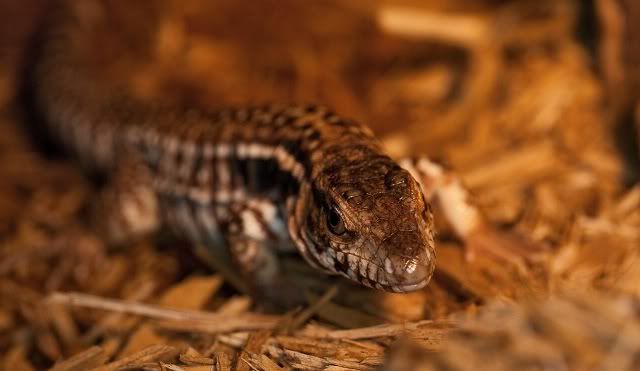
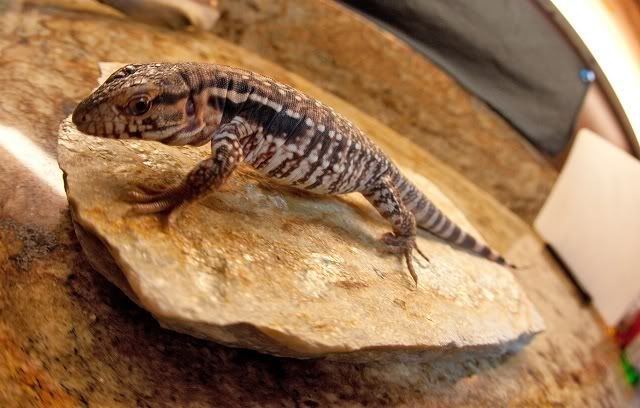
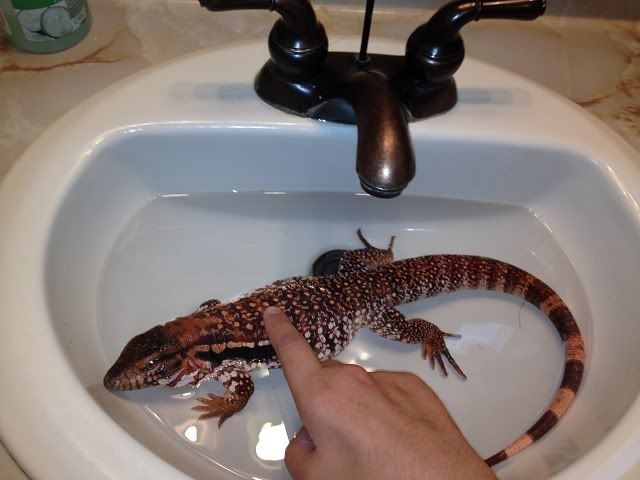
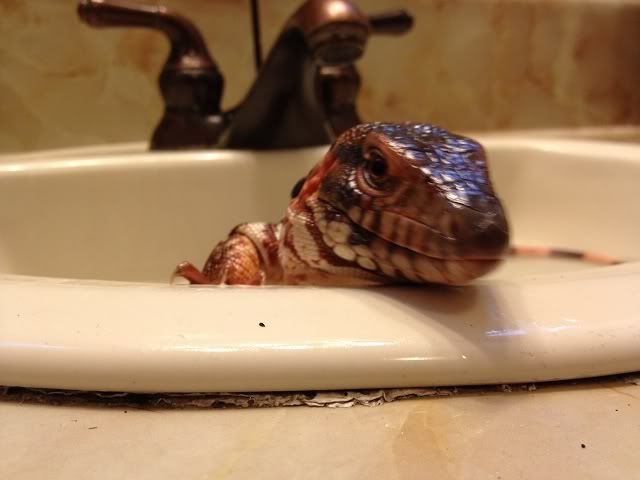
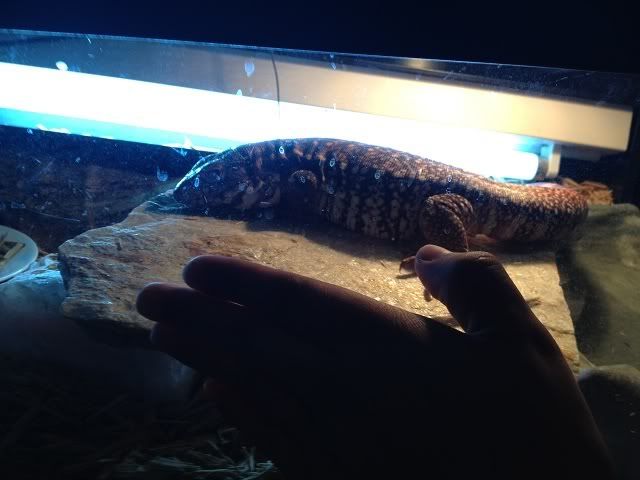
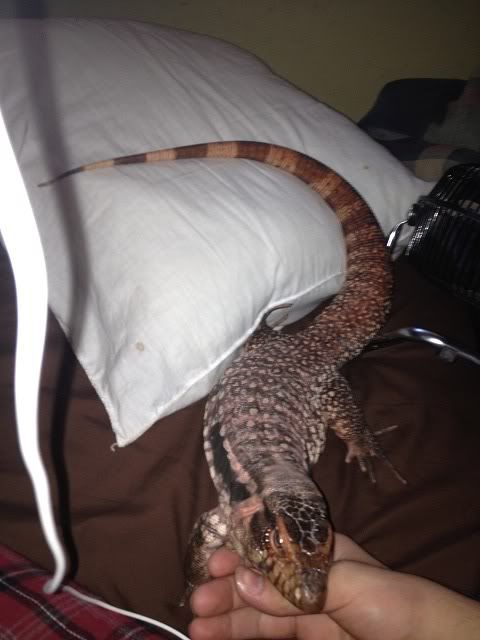
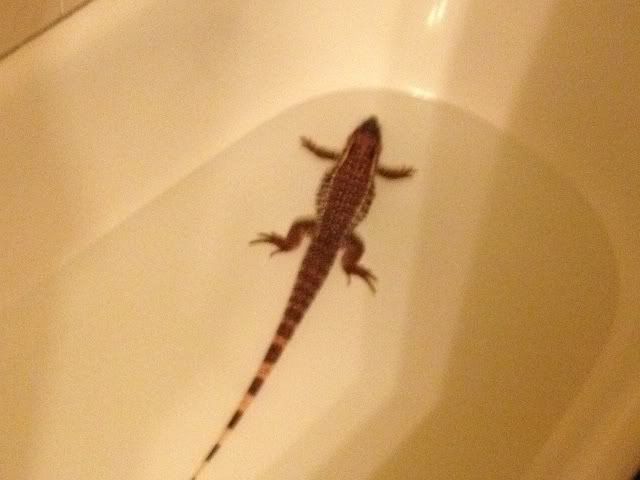
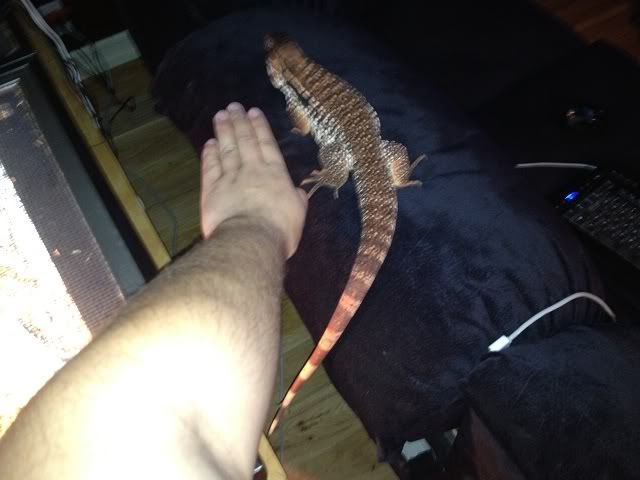
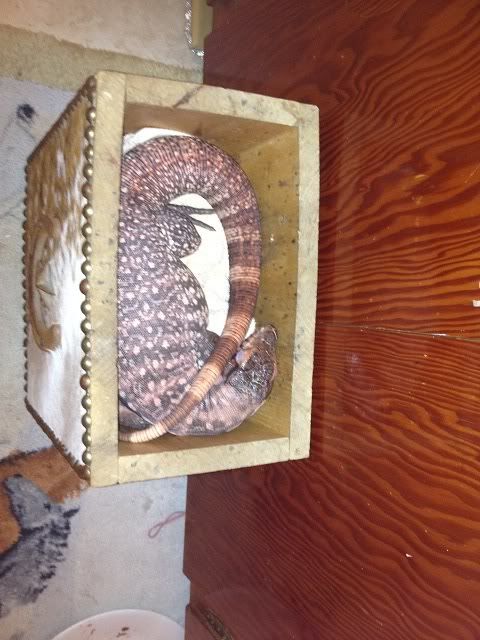
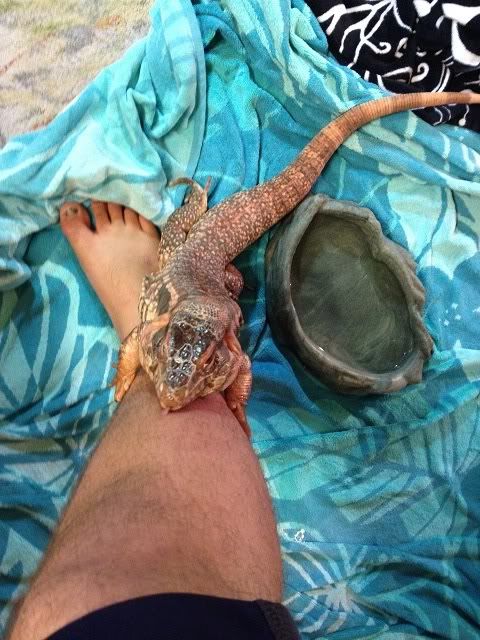
Here is how much Ryion grew while I was building his cage. I started drawing the plans for his permanent cage the week I brought him home.

The cage is 6'X4'X30' . It has two front acrylic doors 30"X30" that open inward. There is an acrylic viewing window in the front as well that is about 8"X25". I have another viewing window at the top that is inset in wood flooring and measures in at 9"X30". Also on the top are two rear vents with screen that are 11"X11". The right side of the cage has a doggy door that is 18"X2'X2'. The back and left side I left bare because they are going against walls. I can always add wood in the future if I was so inclined, but for now, i'm leaving it just plywood.
The wood used to decorate the exterior is as follows:
Brazilian Cherry for the top and bull nose.
Mango Wood for the front, top stripes, and boarder of the top window / vents.
Quartersawn Walnut for the right side / doggy door.
The front pillars of roses are made of Maple, Mahogany, Teak, and Brazilian Cherry.
The Mango Wood is especially precious to me because it is vurtuly impossible to get a hold of. I just happen to do a flooring job a few years ago for a man who had a son who owned a Mango grove in Hawaii, and he had to cut down a grove of his. He then had it milled into planks and flooring and sent to the mainland of the U.S. That's how I was able to get a hold of such a beautiful rare wood.
Now, here are the pics and lay out of the entire operation, enjoy!
3/4 ply wood pre-sanded on one side. Cut the sides and top to shape.
Dry fit.
Cross support for strength and lights.
Interior routing to house the front window.
I put 3+ coats of deck sealer, this picture shows it after one.
These are rubber cleats that are usually used on basketball floors to make them portable and give them some flex. I used them to protect the wood floors in my house.
Installing the windows.
Cut-outs for the vents and windows.
Covered the doggy door in a piece of thin Walnut to avoid issues with the door opening / closing.
Had to clamp on the front pieces to make them tight.
Installed flooring on top.
Puttied the cracks in the flooring.
Pre-sanded.
I had to sand each side 4 times. Once with 60 grit then 80 grit sand paper on a flooring edger. Then I used 80 and 120 grit sand paper on a RO ( Random Orbital Sander ).
Flooring Sealer.
After one coat of flooring finish.
Here are some characteristics of the Mango wood up close that make it so unique.
Installed some plumbing so I never have to take his huge water dish out. A large pump pumps out all of the water / refuse.
Installed the lights. Two 24" Repti-Glo 10.0 strips and one 150W basking bulb.
Shots of it finally inside!
Thanks for looking, I hope you enjoyed it! I will post pictures when the inside is complete, this weekend.
Here is how much Ryion grew while I was building his cage. I started drawing the plans for his permanent cage the week I brought him home.
 That mango wood really gives the whole design an extra oomph and the finished piece looks fantastic. Are the holes on the top just holes, or is there some sort of screen there?